Showing posts with label Homemaking. Show all posts

Tuesday, January 28, 2014

DIY Kitchen Island

I spotted it just as the rain began. A sweet little farm house table on the side of the road waiting to be destroyed by the rain, or end up in a landfill. I couldn't pass it by.

I had been wanting a kitchen island for some time, and this seemed like it might fit the bill with a few altercations...

The first was the height. Definitely not tall enough to use as a work space in the kitchen. I know it needed to be at least counter-height, which is a standard 36 inches. With some suggestions from friends, I decided to add a shelf and legs to the bottom.


If found these 6" legs at The Home Depot. They came with a screw already in the bottom, but after
talking to one of their super-helpful employees, he suggested I use a double-headed screw to get through the half inch plywood I was using. He took out the screw for me with some tool (I think he called them chandlers?) and then put in the new, double-headed screws. Thank you Mr. Home Depot!
 For the plywood, I had the board cut slightly larger than the distance between the legs. Then I used a power drill with a bit to start a hole and I could then screw the legs in by hand.

 It definitely looked awkward at first. I brought it inside and the height was just right.
I trusted that once it was painted it wouldn't look so... unfinished.

 Now the REALLY fun part began. I had been dying to try Chalk Pain, by Annie Sloan. It's made specifically to use without having to prime or prep the surface of whatever you're working with. The only place that sells it around here is Pottsies in Levis Commons. The paint is pricey but totally worth it. I kind of want to paint all the furniture in my house with it now. It was so easy and turned out beautifully in just two coats. I also applied a protective wax coat, which gave it a bit of a matted finish and sealed it.

 I also used some white paint I had to do the trim. And I spray painted the knob on the drawer.


 When I first moved it inside in November, I hadn't yet acquired the crates and boxes
I desired for underneath.


Now, between some treasures in my father's attic and an amazing, dusty, old crate
some friends got me for my birthday, it's just what I had envisioned. 


Tuesday, September 4, 2012

Big Boy Room Makeover (and other budget savvy decor ideas)

I've been itching to get these pictures up ever since Asher's room was updated for his 3rd birthday in August. When we moved into this house he was barely two, so we just transfered all the nursery decor  to his new room. However, we decided that his third birthday would be a great time to put him into a big boy bed and add some other big boy touches. Check out the before and afters:


The details:

The wall decor above the bed was made with fabric and pizza boxes! I love the look of stretched canvases, but these were a much cheaper option. I simply stapled the fabric to the box after wrapping it around the edges like you would when wrapping a gift. Seriously took less than 5 mins for each.

The blue shelves I found at a thrift store for $2.92 each. One was pink and one was purple, so I painted them with leftover blue paint from another piece I painted for Asher's room. A few of the picture frames I also got a thrift store, painted with craft paint and then spayed with a clear gloss enamel for a finished look.


The crate (50 cents) was originally unfinished wood that I spray painted white and believe it or not, I got the Lightning McQueen pic at Goodwill too! Although it was a bit of a splurge at $5 ;)

And like every time I am kid-free at a thrift store, I got a little sidetracked by a few things. One was this cute little crate. Just perfect to hang on the wall for a small shelf in the downstairs bathroom. 50 cents.


Then I spotted some really great fabric. Turns out they were two very long pillow cases. Also turns out that they fit perfectly draped over the bare curtain rod, also in the downstairs bathroom. Linens were half off that day, so that brought them to a quarter a piece- 50 cents total.


So there's some decorating-on-a-dime ideas for ya! Okay, so closer to decorating on 50 cents, but still, not too shabby :) Would love to hear other cheap-o home beautifying ideas!

Saturday, April 21, 2012

Attempts at Living Frugally

Oxford American Dictionary defines frugal as:
-sparing or economical with regard to money or food: He lead a remarkably frugal existence.
-simple and plain and costing little: a frugal meal.

I think it all started with the food budget. We blew it every month. It's not like I didn't keep track of my spending, because I did. It just wasn't working for me. I wasn't using what I already had. Last year I started planning my meals around what was in our cabinets. I'm not a big stocker of food, unless there's a crazy-good sale. Our cabinets and fridge aren't usually brimming with all types of food. I've got staples that I use frequently like rice, quinoa and certain spices. But for the most part I use what we have then replenish. I re-evaluated our food budget again recently because it didn't seem to matter how many "budget" meals I cooked, we were still going over. One thing blared loud and true. Eating out, even once a month, seemed to tip the scales. And eating out for us is Panera, or Qdoba, or Subway even. Not places one might expect to find a big bill. But that extra $20 was a big factor in our over spending. And so was coffee from Grounds for Thought, and individual cups of Greek Yogurt and other little niceties like gum and orange juice... :( So anyway, as I've been evaluating spending in our food budget, the thought of using what I already have has been haunting me. It's been a good kind of haunting though. As I decorated our home for the first Easter we would celebrate here, things looked far from festive. I mean, we have a lot of extra space now so the couple of decorations that seemed to over-crowd the Enterprise house seemed a bit sparse here. I began to brainstorm how I could use what I already had. I really wanted to buy some fresh flowers for a centerpiece, but we only budgeted for a certain amount extra for our Easter celebration and I had used that on food for brunch and an egg hunt for our Easter guests. So I grabbed a cake stand, some wooden eggs, a candle I was saving for a special occasion and cut some flowers from outside. A touch of brown rice kept the eggs from rolling and added some texture.


Then I was really wanting something festive with a little bit of height to sit on the armoire in the living room. I loved the idea of an Easter egg tree like we always had growing up, and I was fortunate enough to find the ideal egg-hanging branch right outside. It fit perfectly into a vase I had sitting empty under the kitchen sink. Add some ribbon that I had collected from old gift packages and used some of the left over eggs we weren't using for the hunt and Voila! I grabbed a frame that I had normally hung on the wall but was now replaced by a hanging wooden Easter egg and a lantern that set on our dresser upstairs as finishing touches. The plant already lived in the spot previously. Just the arrangement I had been hoping for!


As for the kiddo's Easter baskets, I did break down and purchase them. But 50 cents a piece at Goodwill plus the cost of spray paint wasn't too bad :)


They were filled with some kid friendly gardening tools, a little pot with a sun flower seed to be planted and a ball to play with outdoors. Best of all, we got them the Big Picture Story Bible. Best Bible for toddlers ever!

I've also been trying to be frugal with our clothing. We are so blessed to have so many clothes (and cute ones at that!) for the kids passed down to us. It is SO tempting to buy new outfits for them, especially the girls stuff, but it makes me a little sick inside to buy something new when there is so much used floating around. For myself, clothes swaps or give and gets have been a HUGE blessing. It is so amazing to be able to do a clean sweep of my own clothes and then walk away with something that someone else is done with for FREE. Mosaic has also been fun. I've made money selling some of my own things and have used that money to purchase some items there. In fact I was really hoping (and checking the store weekly) for a dress for Easter, but was not having any success. I was really hoping for a dress just right for this special holiday, but didn't want to spend more than 10 or 20 dollars and was desiring to buy something used. As a last ditch effort, the day before Easter I hit up Goodwill and found the perfect Easter dress. It was a sheer chiffon with a beautiful floral print in different shades of purples and white. Right next to that dress was a dark purple dress from H&M that I grabbed to try on underneath since the dress was so sheer. Despite the scuzziness of that Goodwill dressing room, I rejoiced in finding something so perfect and so affordable, all without buying new. Each dress was $5, so I walked away spending a grand total of $10.07. I was thankful to God for giving me the patience and self control to not run out to Target earlier that week like I SO wanted to do. I'm still riding on the high of this killer find and can't wait to wear it again!


Those are just some of the ways I've been attempting to be a better steward of what God has given us. Buying used can definitely take extra time and even extra work, but it's worth it. We reap the benefits in our pocketbook and sense of a job well done. And our precious planet benefits as well! So go used when you can. Just pause to think about what you already have. Or when you need to make a purchase, think of what you might find at a Goodwill or a consignment shop instead of at Target. (no offense, Target- you still have a piece of my heart!)

Saturday, February 25, 2012

More projects

It's been creatively freeing to be doing projects on a regular basis now. Somehow, it's uplifting to my soul. Maybe it's bringing beauty into my home, or sending thoughts and love to others, or the feeling of accomplishment. Regardless, I'm digging it. Thanks Pinterest for the inspiration. What an awesome way for people to inspire each other.

This week I gave crocheting a try. A sweet sister and gifted teacher from our Life Group, Joy, showed us the ropes of chaining and single and double crochet stitching. I didn't get very far, but I got a good taste of it and would love to make more time to master the technique. I liked the challenge and can't think of the last time I really learned or was taught how to do something new. It's humbling and tested my patience and perseverance!

2 weekends ago, Ben and I did some house projects while Asher visited Nana. Here are before and after shots of our guest bedroom. From shocking yellow to smokey purple. The purple turned out almost exactly as I had envisioned. I love it when that happens!


Who wants to come stay with us??? :)

I was really excited to unpack my craft and card-making things and organize them into the desk in there. Really? A desk just for paper crafts? I even made use of this awkward little closet just outside the guest room. I'm thinking it used to hold guns, hence the 2 dead blots on it, but now, behold the gift wrap closet. Bags, bows, boxes, tissue paper and more. All easy access. What a blessing! I kept thanking the Lord over and over again for abundant blessings like these. Really, how sweet to have places and spaces to suit my organizational desires.


Brilliant idea for the ribbon holder from Pinterest!

The green box holds little gifts that I pick up now and then
if I see something I know a friend would like, or just gifts
to have on hand for any occasion. Don't peek!


Check out the locks. Never has gift wrap been so safe and secure ;)

Saturday, February 4, 2012

Recipe Binder-Finally!

After much, much, much too long, I finally started a recipe binder. This was my goal for Project of the Week this week. I needed to at least build the back bones of this puppy. So here's what I've done so far.
Cover- cute little (free) printable from prudentbaby.com
Dividers- just had some of those lame yellow dividers with colored tabs laying around, so that's what I used!
Page protectors- also had those on hand. They're perfect because you can slide anything in there! Esp. all those annoying scraps I've torn out of magazines and shoved into a folder over the years. Yikes!

This project was pretty straight forward. I took some pics of what I've done so far, which was organize any printed recipes or magazine pages. It will take a while to print the recipes from various online sources. But this was a GOOD start. Oh, and I'll tell ya, once I got the page protectors in, they stuck out longer than the dividers with the tabs. So my tabs are basically obsolete right now. I'll probably try using a page protector as a divider and stick a tab on there.


Also, here's how I categorized the dividers:
Appetizers/Party Food
Soups and Stews
Main Dishes (within this I'm trying to keep meats first, then pastas, then veg, etc...)
Salads and Sides
Breakfast Food (totally deserves a category of its own in my opinion!)
Snacks
Sweets
Drinks

Anyone have any handy tips they've heard or used for recipe binders? I'd love to know!

Friday, August 26, 2011

The Big Move

Still praisin' God for this one folks...
So. The big move. The long awaited move. The move that happened in God's perfect timing and provided more than we could have ever hoped for. Yes I'm an optimist. But I am not exaggerating here. We scored big. In every way. Selling and buying a home all in a week's time may seem maddening, but it wasn't. Hectic yes. Stressful at times, very. But it was amazing to see it all come together, so very smoothly, like it was meant to be this way. In this timing. In HIS timing. 3 summers of having our home on the market was long for us. But I would do it all over again before I would ever consider taking matters into our own hands, like it was tempting to do (taking a huge loss for a sale, renting it out, etc). Sometimes you just gotta sit tight and keep the faith. And keep praying. Over, and over, and over... Draw near to Him, and he will draw near to you.

I wanted to share some moving advice for anyone who might need it, now or in the future. I think these things were helpful. They might have taken a little bit of time during the packing process, but they paid off tremendously in the long run. Here we go:

1. Gather supplies (obvious, but I'll explain a few of the items suggested below)
Boxes (ask friends who recently moved, hit up the dumpster area behind stores, call grocery stores in advance and see what they have, search Craigslist and then re-post them when you're done!), packaging tape, black permanent markers, construction paper, red duct tape, Scotch tape, pens, a mini notebook and whatever else you might fancy.
2. Have a landing place for your supplies
There's nothing more annoying than searching for the packaging tape every 5 minutes.
Where's the packaging tape? I thought you had it. No, you had it last. Didn't you? I dunno. It's gotta be here somewhere...
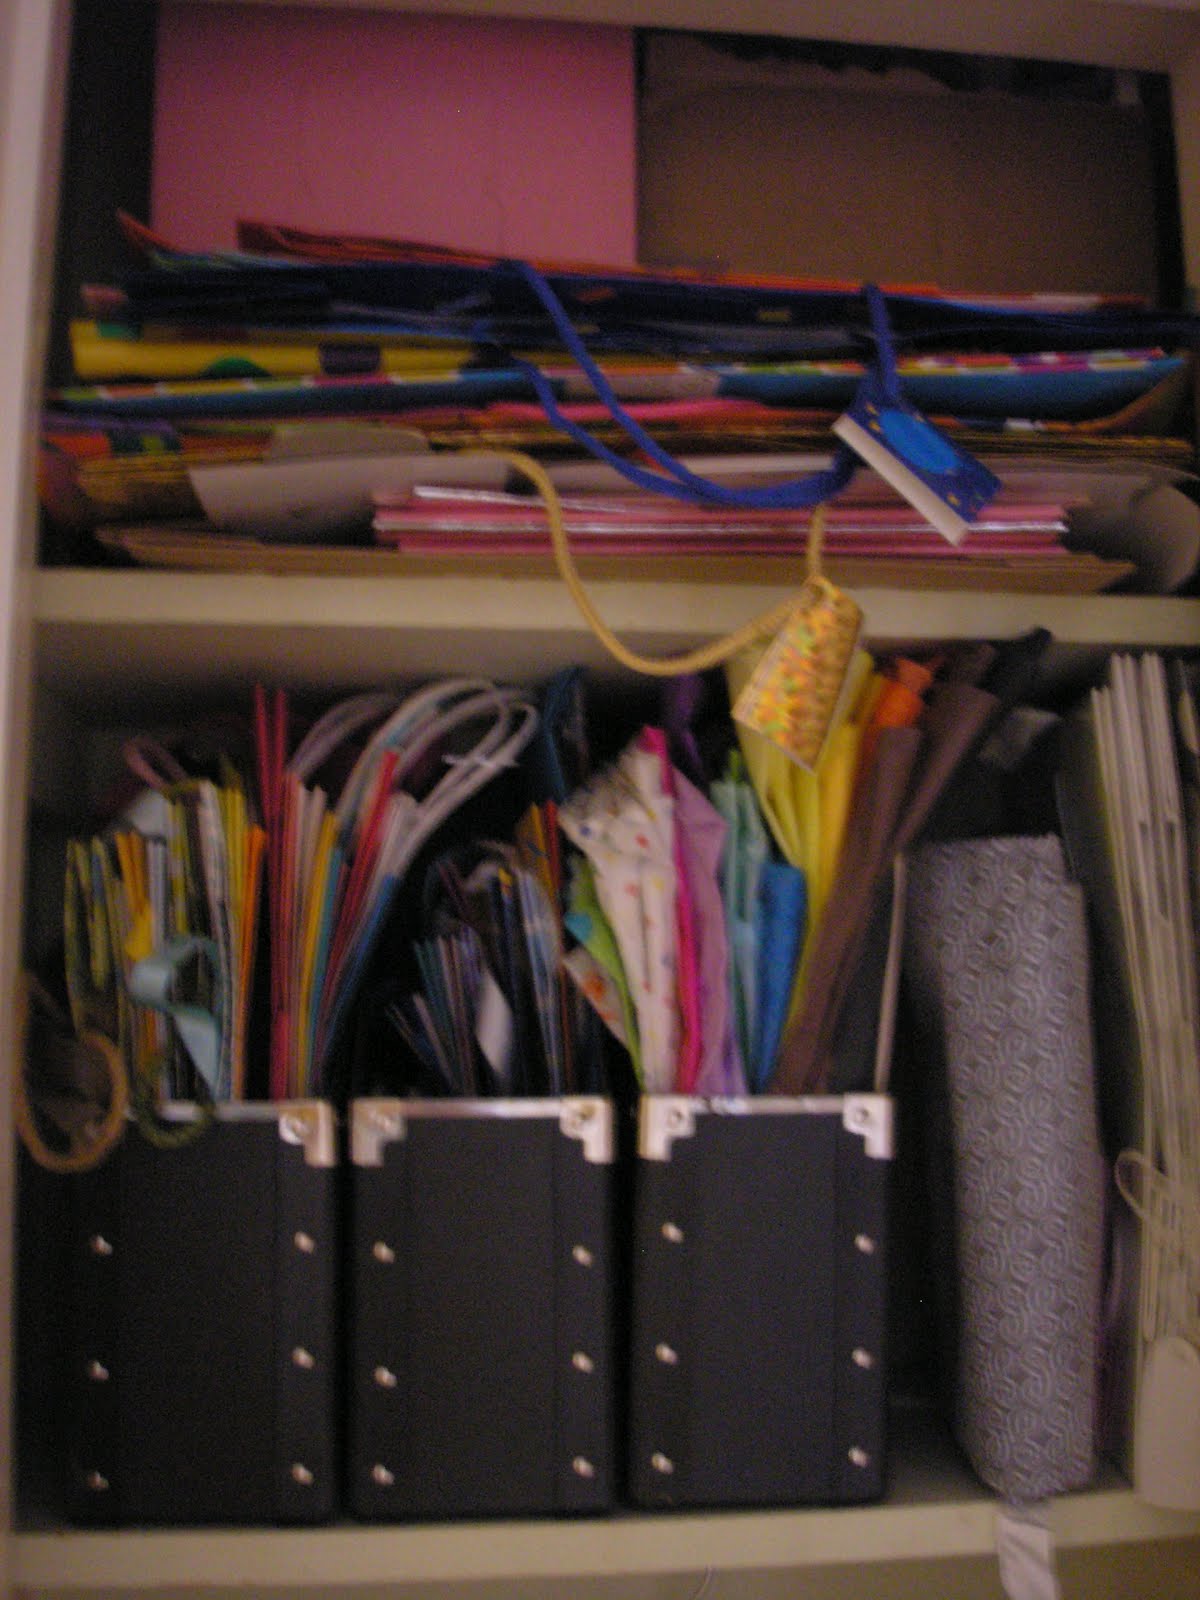
We chose the top of a bookshelf in the most central part of the house to keep putting all of our supplies back onto. A basket that you can carry every thing from room to room in is a good idea too.


3. Color code
This was the single most helpful thing I did. It was helpful to the folks who helped us move-in and it was helpful to us because each box was placed in the room it needed to be in.
Think through the rooms in your new home. Try to get an idea of what you want to go where. Then, choose a color for each room. As you pack boxes, pack them according to the room they go in. For example, every time I packed a decorative time (except the ones in bedrooms) I made sure the box was labeled brown, for living room. Simply cut or tear off a square of colored construction paper and tape it to the appropriate box. Voila.

This is the poster I made on foam board that sat outside the door as movers carried boxes into the house. If there was a pink swatch of paper on the box, they knew they were headed to Millie's room. Red, playroom and so on.

4. Number and list. List and number.
Keep a small notebook handy to list each item that goes into the box. I reserved a few pages in the notebook for each room. Then I would give each box a number, beginning with 101. Here's what a page in my notebook would look like:

Kitchen-yellow
101- utensils, measuring cups, measuring spoons, cutting boards
102- glass bakeware
103- kiddie cups, bowls, etc.; plastic cups, straws, water bottles

Then on another page:
Guest room- purple
101- scrap fabric, card making supplies, pens and markers
102- bed linens and pillows
103- books (You can really get specific and put certain genres together. We didn't...)

Get the idea? Each box had the color square on top and was also labeled with a number on top and then the number on the side as well. This makes finding items a breeze. Just find it on the list and that will lead you to the exact box it's in. No guesswork required.

5. The red duct tape
Think through what you'll want to unpack first. Tape these boxes in red duct tape. That way when you see a pile of boxes, you just go for those first. It's especially nice if someone is helping you unpack, then they know where to start without a question. *Hint- many of the things you pack last (toiletries and the like) are going to be the boxes you want to open first.
6. Recruit and Reward
I think emailed just about anyone we knew who lived in the area and asked for their help. Friends, co-workers, neighbors, you name it. I just gave them a time and a place and asked for any amount of time they could contribute. A little over 20 people showed up throughout the evening. The girls and I headed to the new house to clean while the guys loaded up. This was my favorite part of the whole thing-just watching the masses descend upon us. It was so fun to see which face would pop up next and grab a box. The new neighbors all commented on how many people helped us and how fast it went. Yeah, we know some amazing people. Couldn't do without them.
And as it was nearing the end of the hottest spell of the summer, we had plenty of bottles of water and Gatorade on ice available. And some granola bars too. We would have provided a meal afterward, but we moved from about 6:00pm-8:30pm. Instead, at a later date, we invited everyone out to a local ice cream joint for treats on us.
Special shout-out to all of our moving buddies. You guys were AMAZING. We loved having you be the ones to grace our home for the first time. Sweaty bodies and all. And love to the Alts who housed us for the night when we were in transition. Extra love to Nana and Mimi for doing the hardest work of all and caring for the kiddos. 3 words: Peace Of Mind.
And be sure to keep your eyes peeled for the date for our House Warming Open House... We've got a lot to celebrate!